Editing Slides
This page covers changing the content of a presentation: working with elements, formatting, arranging, managing slides, and keeping your work safe.
Editing must be enabled
Editing is only available when the app is configured for it. If the toolbar shows a Read-only badge and you cannot select or move elements, the app is in view-only mode. Developers: see the Component Props docs.
Selecting elements
- Click an element on the canvas to select it. Handles appear around it.
- Shift-click more elements to add them to the selection.
- Drag on empty canvas to draw a marquee box and select everything inside it.
- Press Ctrl+A (Cmd on macOS) to select every element on the slide.
- Press Escape to deselect.
You can also select from the inspector's Elements tab, which lists every element on the slide in stacking order under the heading Layer Order. This is handy when elements overlap.
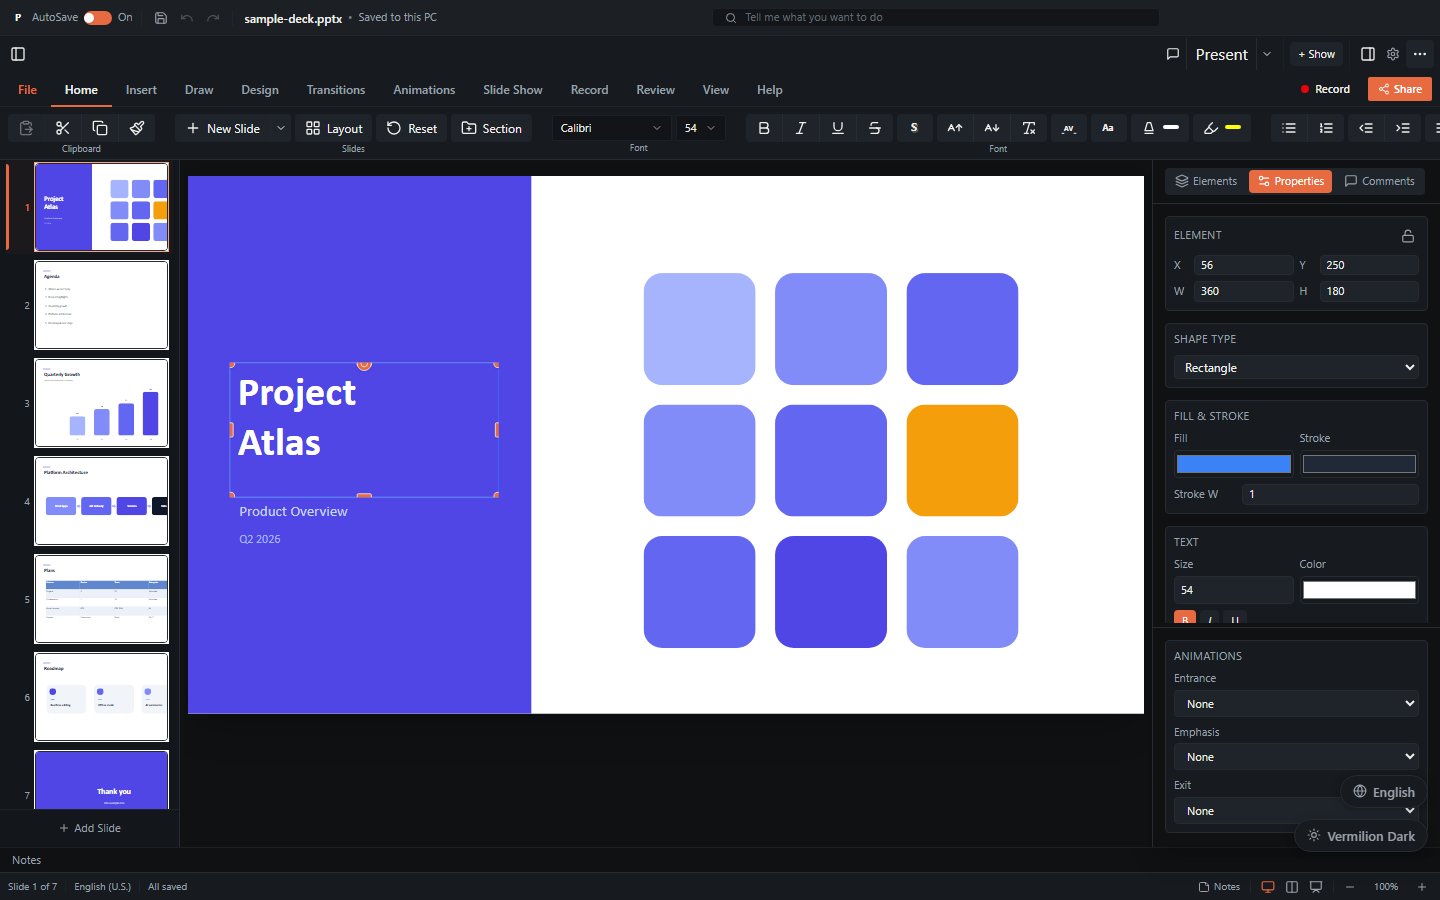
Moving, resizing, and rotating
With an element selected:
- Move - drag it. Alignment guides and snap lines appear as it lines up with the grid or other shapes.
- Nudge - press the arrow keys for small steps, Shift + arrow keys for larger steps.
- Resize - drag any corner or edge handle.
- Rotate - drag the rotation handle above the element. Hold Shift while rotating to snap to 15 degree steps.
- Adjust shape - some shapes show an extra adjust handle that changes their geometry (for example an arrow's head size).

For exact placement, open the inspector's Properties tab. The Element card has X, Y, W, and H fields, plus a lock toggle that protects the element from accidental drags.
Rulers, grid, and guides
Turn on Rulers, Grid, Guides, and Snap to grid from the View tab's Show group. Drag a guide to reposition it; double-click a guide to remove it.
Editing text
- Double-click a text box, shape, or table cell. A cursor appears and you can type.
- Press Ctrl+Enter to commit the edit, or Escape to cancel it.
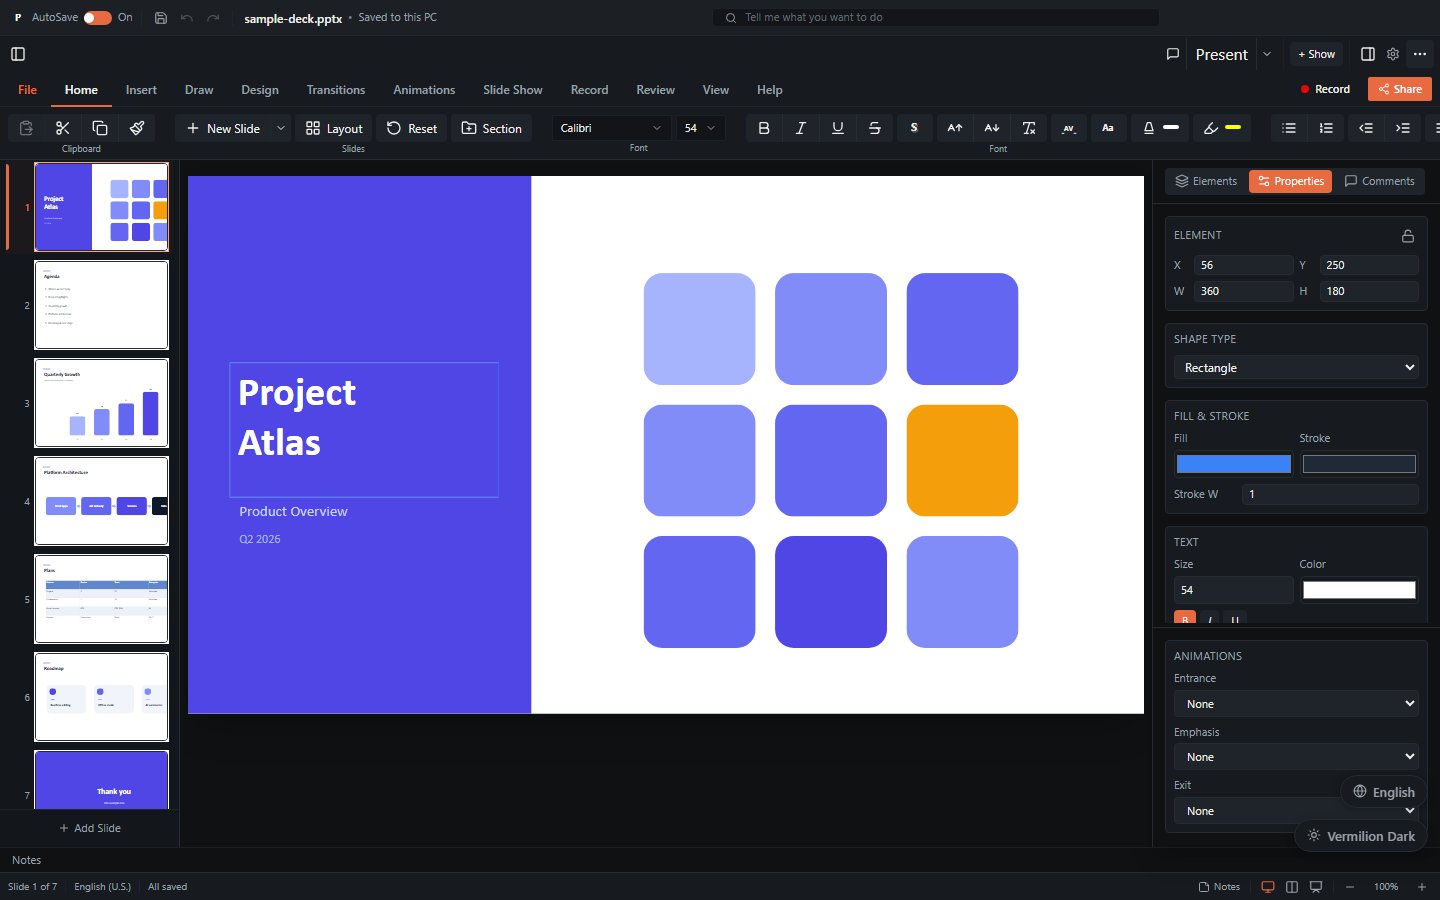
Format text from the Home tab:
Font group - font family and size dropdowns; Bold, Italic, Underline, Strikethrough; Text Shadow; Increase / Decrease Font Size; Clear Formatting; Character Spacing; Change Case; Font Color and Text Highlight Color (each with preset swatches and a Custom colour... picker).
The font list is grouped the way PowerPoint groups it: the presentation's two theme fonts first (marked Headings and Body), then any fonts embedded in this presentation, then any you have added this session, then the full alphabetical list. With nothing overriding it on the selected element, the box shows the font the deck would actually render, which inside a title placeholder is the theme's heading font rather than a generic default.
Paragraph group - bullet and numbered lists; indent controls; Align left / center / right / Justify; Line Spacing; Text Direction (horizontal, rotated, stacked); Columns.
The same text settings are available in the inspector's Text panel when a text element is selected.
Inserting elements
Use the Insert tab to add content to the current slide:

| Button | What it inserts |
|---|---|
| Text Box | An empty text box ready to type into. |
| Shape | A preset shape; pick the shape type from the dropdown next to the button (rectangles, arrows, callouts, stars, connectors, and more). |
| Image | A picture from a file on your device. |
| Media | A video or audio file. |
| Table | A new table on the slide. |
| Chart | A chart; pick Bar, Line, Pie, Doughnut, Area, or Scatter from the dropdown next to the button. |
| SmartArt | A SmartArt diagram chosen from a layout gallery. |
| Equation | A mathematical equation built in the equation editor. |
| Action | An action button (navigation arrows, home, and similar presets). |
| Field | A dynamic field: Slide Number, Date/Time, Header, or Footer. |
| Header & Footer | Opens the header and footer dialog for the deck. |
New elements land on the slide selected and ready to move, resize, and style.
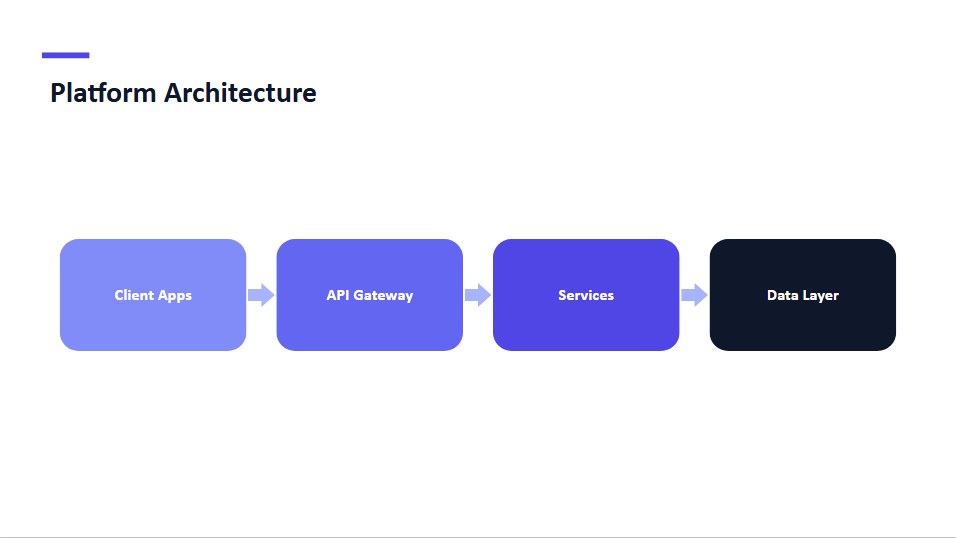
There is also a Draw tab with freehand tools: Select, Pen, Highlighter, Eraser, and Freeform, plus a pen colour picker and stroke width slider. Ink you draw becomes elements on the slide.
Formatting with the inspector
The inspector's Properties tab changes with the selection:
| When you select... | You can change... |
|---|---|
| Nothing (the slide) | Presentation info, theme, slide size, slide transition, and background (colour or image). |
| A shape or connector | Position, size, rotation, fill (solid, gradient, pattern, image), and stroke. |
| A text element | Font, size, colour, alignment, and spacing. |
| An image | Crop and picture adjustments. |
| A table | Table style presets, column widths, row heights, and cell formatting. |
| A chart | The series data grid, chart type, axes, data labels, markers, trendlines, and colours. |
| SmartArt | Node text and layout. |
| Media | Playback settings. |
| Any element | Entrance, emphasis, and exit animations with direction, timing, and trigger settings. |
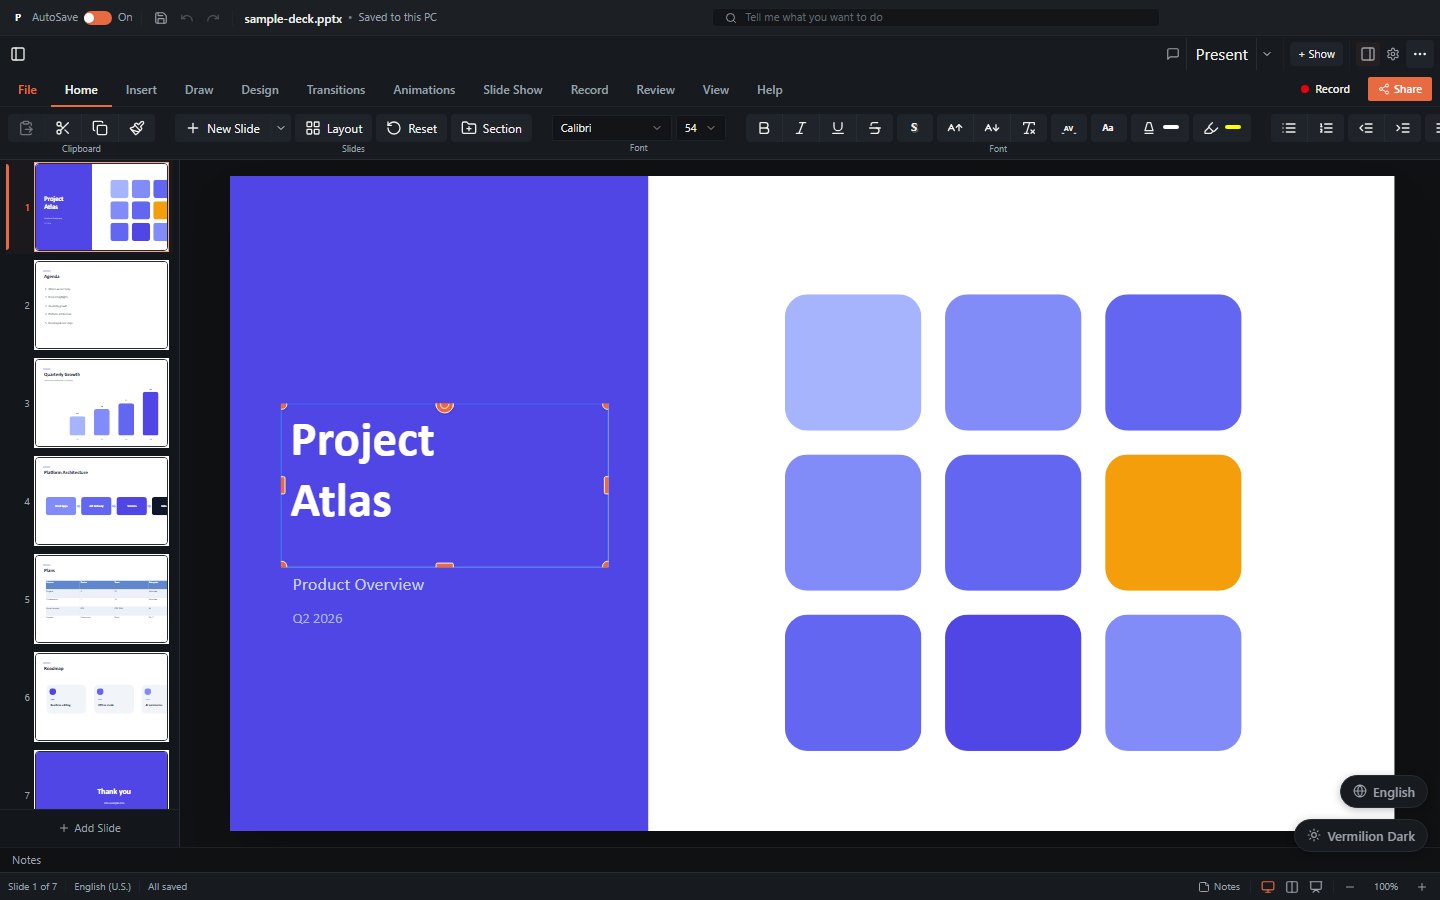
Editing charts on the canvas
Charts are directly editable without leaving the slide:
- Hover a mark to see its value in a tooltip.
- Click a bar, point, or slice to select it; the matching cell highlights in the inspector's data grid.
- Drag a bar or point up or down to change its value (bar, line, area, scatter, and bubble charts). A badge shows the value while you drag; release to commit or press Escape to cancel.
- Double-click the chart title to rename it in place.
Pie, doughnut, radar, and stacked/percent-stacked marks are click-to-select; edit their values in the data grid. Each change is a single undo step. All of this works the same way across every binding (React, Vue, Angular, Svelte, and vanilla).
Editing tables
Right-click a table for row and column commands: Insert Row Above / Below, Insert Column Left / Right, Delete Row, Delete Column, Merge Cells, and Split Cell. Double-click a cell to edit its text.
Arranging elements

- Stacking order - right-click an element and choose Bring Forward, Send Backward, Bring to Front, or Send to Back. The same commands are in the Home tab's Drawing group under Arrange, and as layer buttons in the inspector.
- Align and distribute - with two or more elements selected, use the Home tab's align buttons (left, center, right, top, middle, bottom) and Distribute horizontally or vertically.
- Group / Ungroup - right-click a multi-selection and choose Group so the elements move and resize together; Ungroup splits them apart again.
- Flip - use Flip H / Flip V to mirror the selection.
Managing slides
- Add a slide - click Add Slide at the bottom of the slides panel, or use Home > New Slide. The arrow next to New Slide opens a gallery of the layouts belonging to the current slide's master, each drawn with its real artwork and placeholder frames rather than listed by name. The Layout button opens the same gallery to change the current slide's layout, with the layout it is using now outlined. Changing layout moves your content into the matching placeholders; anything the new layout has no slot for stays on the slide as free-standing content rather than being discarded.
- Reorder - drag thumbnails in the slides panel, or drag cards in the slide sorter.
- Duplicate, hide, or delete - open the slide sorter, right-click one or more slides, and choose Duplicate, Hide Slides / Show Slides, or Delete. Copy and paste of whole slides works there too (Ctrl+C / Ctrl+V).
- Sections - use Home > Section or right-click a thumbnail and choose Add Section Before to group slides under named headings. Right-click a section header to Rename, Delete, or Move it.
- Reset - Home > Reset restores the current slide's placeholder positions from its layout.
Adding a font the viewer does not have
Presentations sometimes use fonts that are not installed on your device. The viewer substitutes the closest available face, which can change how the deck looks. If you have the font file, you can hand it to the viewer for the current session:
- Open File > Options > General and find the Fonts section.
- Turn on Let me add font files to this session. The setting is off by default, so the file picker stays disabled until you enable it.
- Click Add font file and choose a
.ttf,.otf,.woff, or.woff2file.
The family appears under Fonts added this session and in the Home tab's font list, and slides using it re-render with the real face. Files whose names spell out a weight or style (Inter-SemiBoldItalic.woff2) register under the family name alone, so the four files of one family combine into a single entry that the Bold and Italic buttons work against.
Added fonts are held in memory only. They are never uploaded, never written into the presentation, and are discarded when you reload the page, so a licensed font file stays where you put it. To ship a font with the deck instead, use File > Embed Fonts.
Editing speaker notes
Open the notes panel with the Notes button in the status bar and type. The notes toolbar offers Bold, Italic, Underline, Strikethrough, bullet and numbered lists, indent controls, and link insertion, plus a toggle between the rich and plain text editor. Notes are saved with the presentation and appear in presenter view.
Find and replace
- Press Ctrl+F, or use Home > Editing > Find / Replace.
- Type the text to find. The x of y counter shows matches across all slides; step through them with the previous / next buttons.
- Toggle Match case if needed.
- To change text, enter a replacement and click Replace or Replace All.
Comments
- To comment on an element, right-click it and choose Add Comment; or open the inspector's Comments tab and use the Add Comment box for the current slide.
- Each thread supports Reply, Edit, Resolve (and Reopen), and Delete.
- Slides with comments show a comment badge on their thumbnail. The Review tab's Comments button toggles the panel.
Undo and redo
- Undo - Ctrl+Z, or the arrow button in the title bar.
- Redo - Ctrl+Shift+Z or Ctrl+Y.
Every edit is captured as a step you can walk backward and forward through. Continuous actions such as dragging count as one step.
Cut, copy, paste, duplicate
| Action | Shortcut |
|---|---|
| Copy | Ctrl+C |
| Cut | Ctrl+X |
| Paste | Ctrl+V |
| Duplicate | Ctrl+D |
| Delete | Delete or Backspace |
The same commands appear when you right-click an element. See the full list on the Keyboard Shortcuts page.
To paste an image from another app, copy the image itself, click the slide canvas, then press Ctrl+V (Cmd+V on macOS). When the browser supplies an image file, it is inserted in the centre of the slide, fitted within its bounds, and selected. The insertion is one undo step. Pasting while editing text or a table cell stays with that editor; it does not insert a separate slide image. Image URLs and HTML alone are not imported by this shortcut.
The editor's existing internal element clipboard keeps priority. If you have copied slide elements in this viewer, Ctrl+V continues to paste those elements instead. Use Insert > Image to choose an external image file in that case.
Autosave and recovery
- The AutoSave switch in the title bar turns periodic snapshots on or off. When on, the app saves a recovery copy of your work to the browser's local storage every couple of minutes while there are unsaved changes.
- The status bar shows the current state: Unsaved changes, Saving..., Saved [time], or All saved.
- If you close the tab with unsaved changes and come back, a banner titled Unsaved changes recovered offers Restore and Dismiss.
- Version History (in the "..." overflow menu) lists the stored recovery snapshot with its time and size, and lets you restore or delete it.
Autosave is not a file save
Autosave keeps a recovery copy inside your browser only. To produce an actual .pptx file, use the Save button in the title bar or File > Save; the file downloads to your device. See Exporting.
Next
- Present your deck: Presenting
- Save and share it: Exporting
- Speed things up: Keyboard Shortcuts